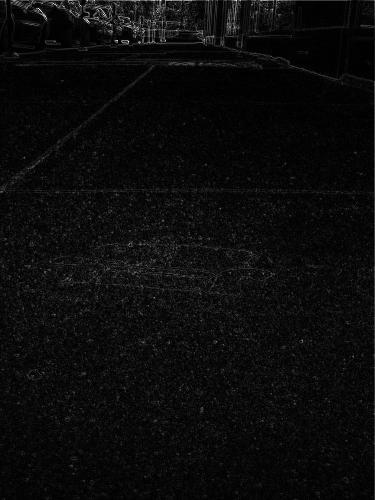
To implement Seam Carving, I followed a very simple algorithm. First, I evaluate every pixel of the input image according to a passed in energy function and save this value as the energy image. Then, for each seam I want to remove, I first construct an energy map using the energy image which stores the energy of the current pixel plus the minimum path from that pixel to the top of the image at the pixel coordinate. Then, to find the lowest energy seam, I pick the minimum value pixel in the bottom row of the image, and iteratively pick the minimum of the three pixels above the current pixel (one left, one directly above, and one right) to add to the seam until I reach the top of the image. Then, I remove this seam from the image. I do this process until the image reaches the desired width, and then return it. I also implemented vertical resizing by simply rotating the image, performing the horizontal resize algorithm, and rotating the result.
For the energy function I simply used the 2d gradient magnitude of the image. To construct the energy map, I started by copying the first row of the energy image into the energy map. Then, for every row after the first, for each pixel in that row, I calculated the minimum of the three entries in the map that were in the row above and within one of the column of the current pixel, added it to the energy value of the current pixel, and stored it in the map at the current pixel's location.
To find the minimum seam, I started at the bottom row of the energy map and chose the index of the minimum value. Then, for every row above the bottom, I iteratively picked the index of the minimum value in the energy map that was within one of the previous index. For example, if the minimum index of the last row was 13, the current row would be the index of the minimum value at indexes 12, 13 and 14 in the energy map. Then, I constructed a new image with the seam removed.
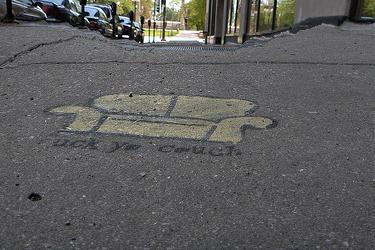
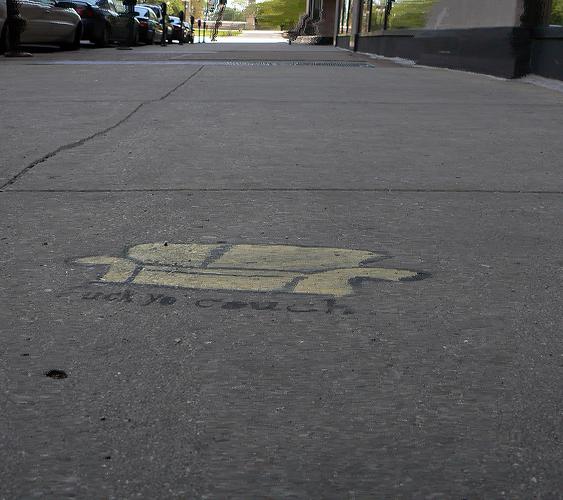
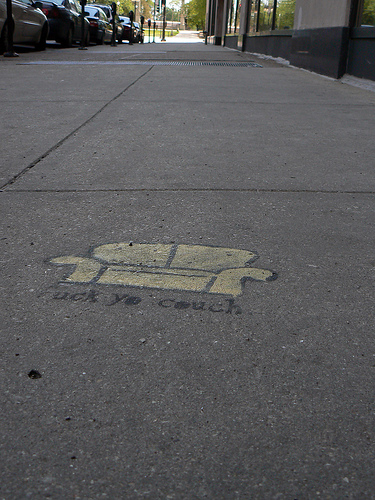 Couch Input Image
|
 Couch after Seam Carving
|
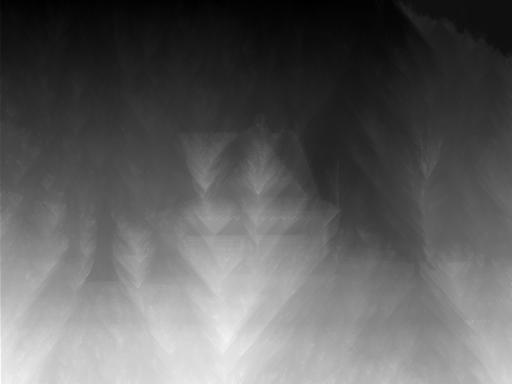
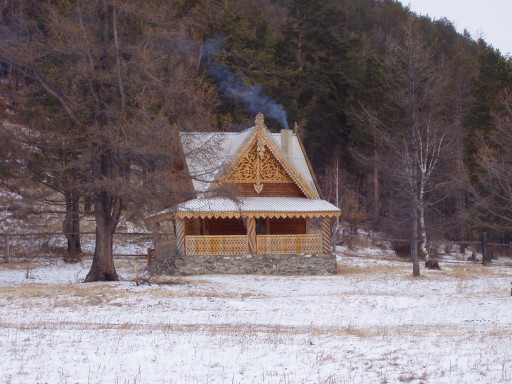 House Input Image
|
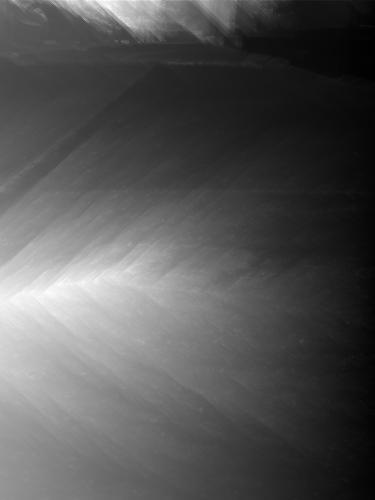
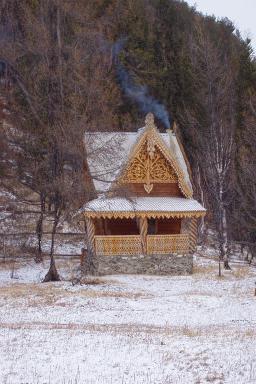 House after Seam Carving
|
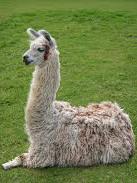
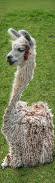
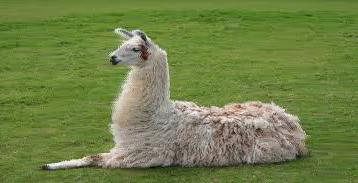
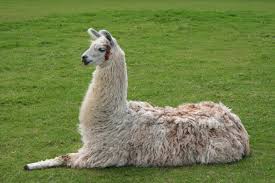 Llama Input Image
|
 Llama after Seam Carving
|
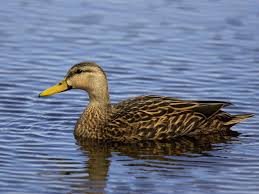 Duck Input Image
|
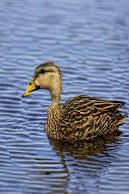 Duck after Seam Carving
|
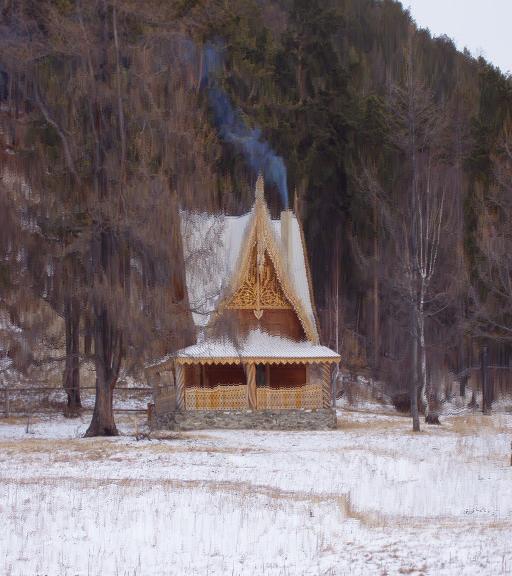
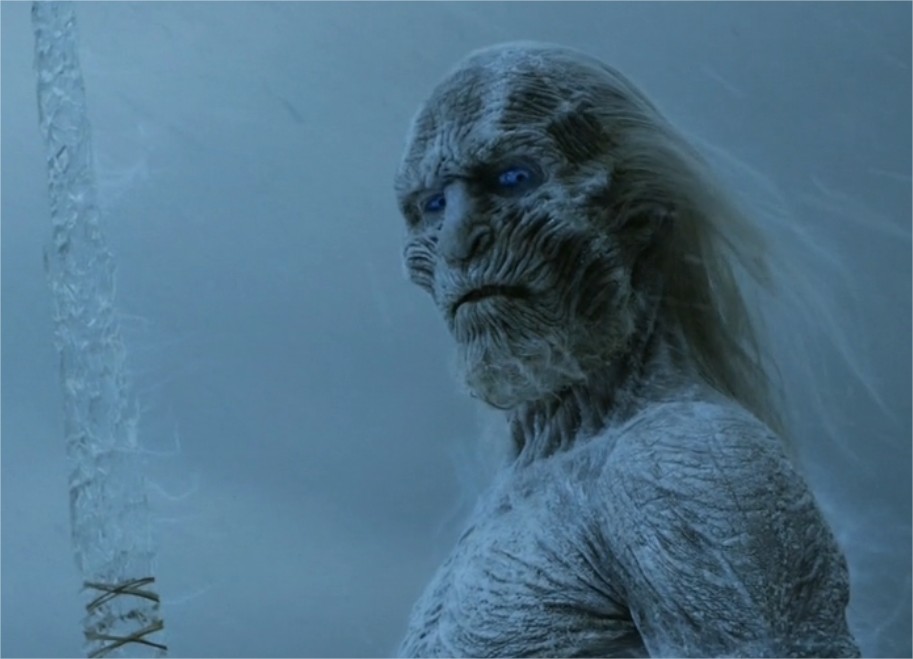 White Walker Input Image
|
 White Walker after Seam Carving
|
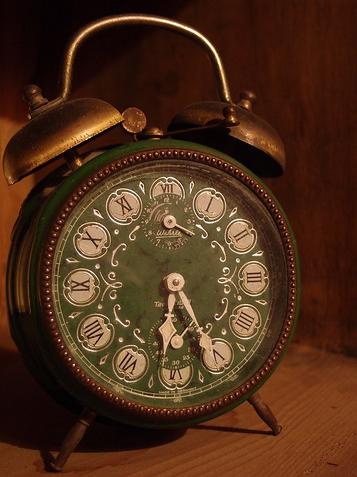
 Clock Input Image
|
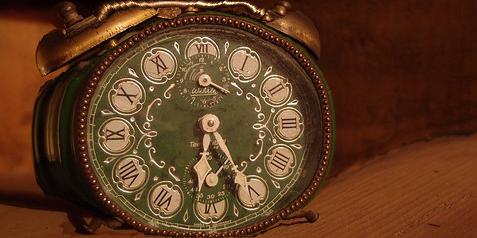
 Clock after Seam Carving (Horizontal)
|
 Clock after Seam Carving (Vertical)
|
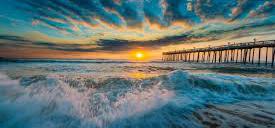
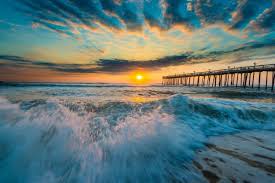 Sunset Input Image
|
 Sunset after Seam Carving (Horizontal)
|
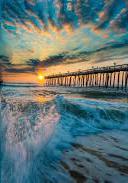
 Sunset after Seam Carving (Vertical)
|
Fail Cases
Basically, the algorithm works very badly with faces and produces some pretty obvious artifacts when it is pushed to its limits.
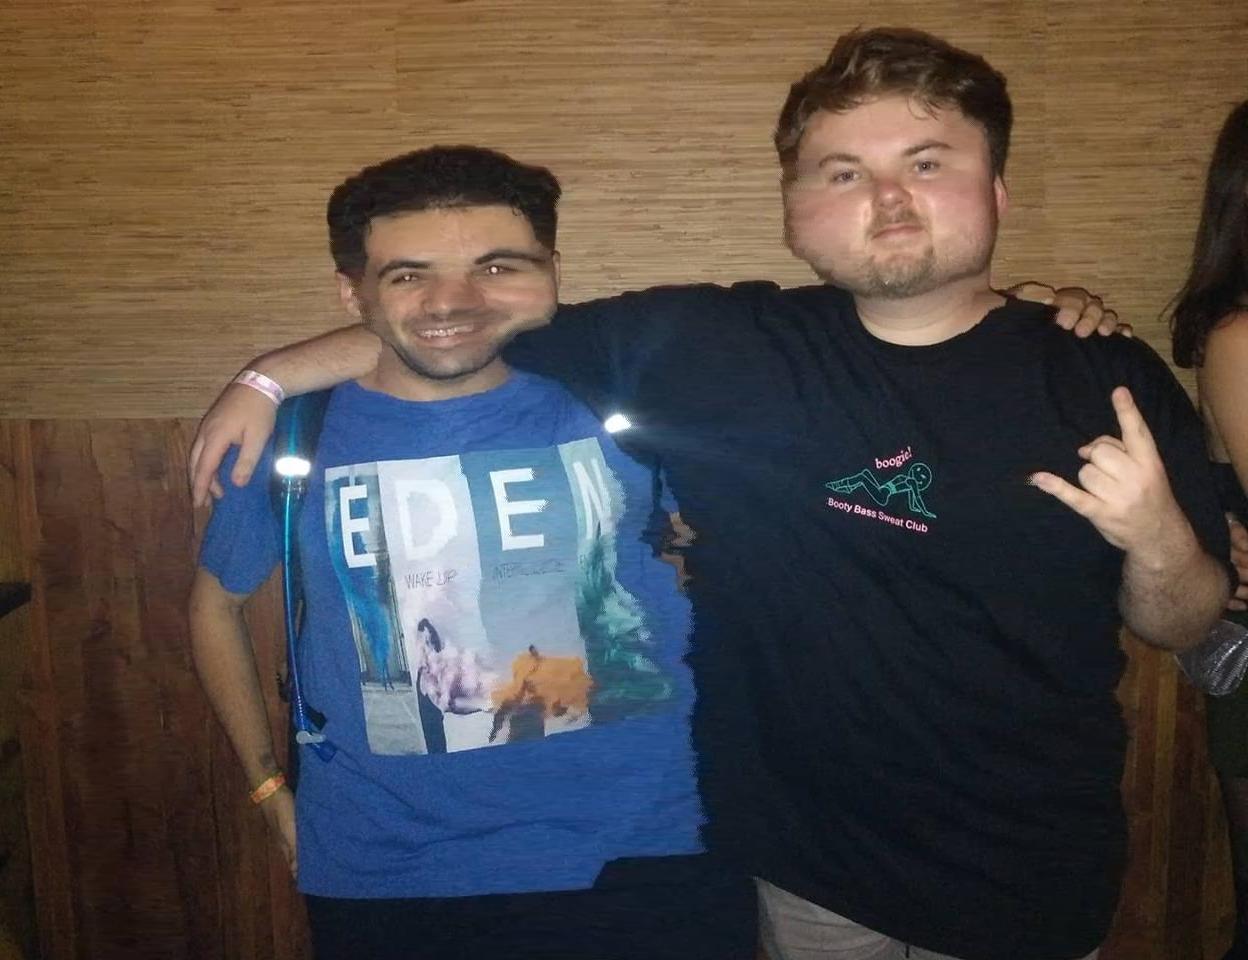
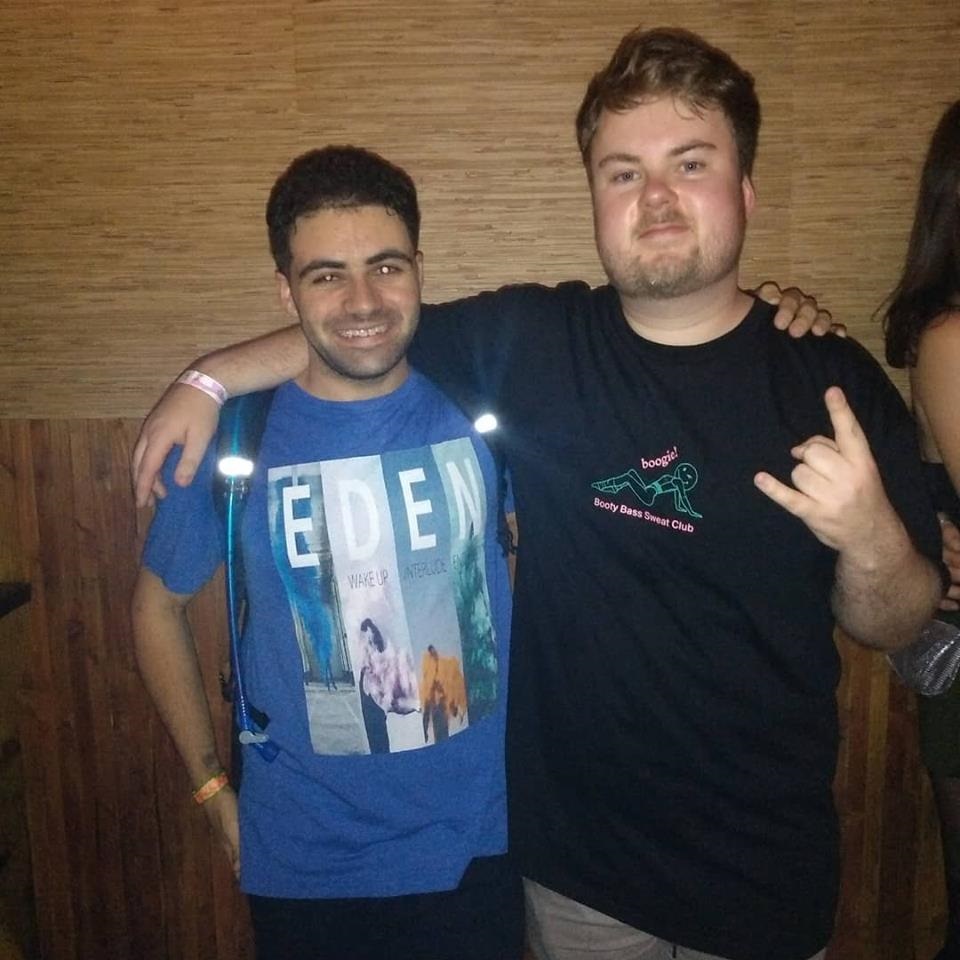 Jacob and Hein Input Image
|
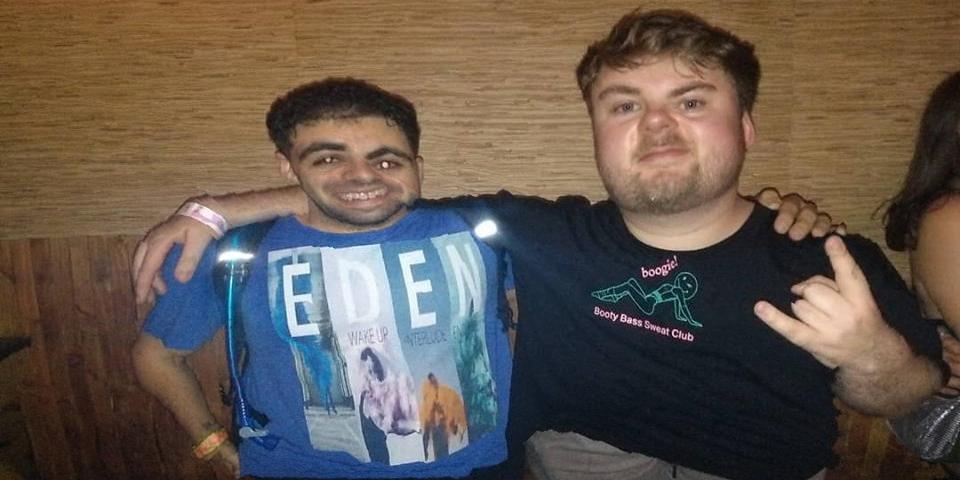 Jacob and Hein after Seam Carving (vertical)
|
 Jacob and Hein after Seam Carving (horizontal)
|
|
Duck Input Image
|
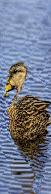 Duck after Seam Carving (extreme)
|
|
Llama Input Image
|
 Llama after Seam Carving (extreme)
|
Bells and Whistles
Seam Insertion
For Seam Insertion, I did not have to change much about my algorithm. The biggest change I had to make was to allow for batch lookup of seams that did not collide, as opposed to simply finding the best seam at every iteration. Therefore, when performing seam insertion, I would find the minimum seam, but instead of immediately adding a seam there and repeating the process, I would simply set all values in the map that were part of that seam to infinity. This prevented any of the pixels from that seam from being picked in the next iteration. Finally, once enough seams were chosen, I would add them all into the image at once before returning it. In the case that the minimum value of any given seam was infinity, I would insert the current set of seams and then perform the entire algorithm on the resulting image again, until the desired size was reached.
Results
|
Couch Input Image
|
 Couch Expanded (Horizontal)
|
|
House Input Image
|
 House Expanded (Vertical)
|
|
Llama Input Image
|
 Llama Expanded (Horizontal)
|
|
Jacob and Hein Input Image
|
 Jacob and Hein Expanded (Horizontal, Fail Case)
|
What I Learned
In this project I learned a lot about how hard it can be to correctly optimize code that centers around image manipulation. For the longest time I was trying to figure out how to make my code run significantly faster for the Bells and Whistles assignment. My first approach was to simply carve the seam directly out of the map as opposed to recalculating the map at every iteration. This was inaccurate because it didn't allow for the algorithm to pick seams that decreased in energy because they actually overlapped with the current seam. Secondly, I tried setting all values in the seam to infinity, just as I did in seam insertion. This didn't work well in seam carving, however, as it would force the algorithm to pick important seams to remove which would end up causing the algorithm to essentially cut from every area equally. I tried various other heuristics, such as adding the removed seam's energy to the neighboring entries, but none of them created the equivalent optimal result. Finally, I tried updating only the values that would be updated in the map after a seam removal, but what I also found was that, since 25-50% of values in the map were updated at every seam removal, it was actually slower to calculate only the updated values along with the conditional checks as opposed to completely recalculating the map at every stage. Therefore, I left it that way.